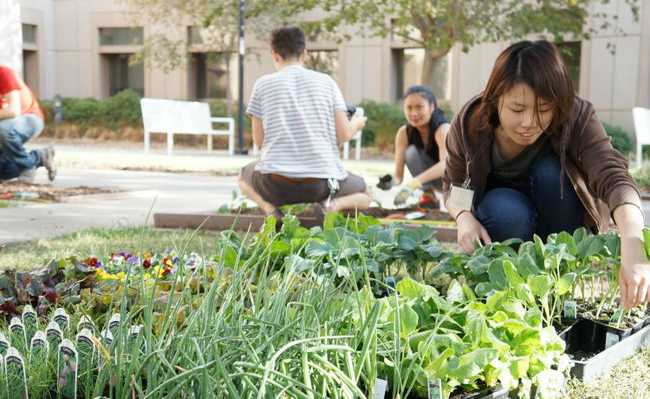
Organic Gardens Course #6: How to Make Your Potted Garden
If you don't have a lot of backyard space or live in an apartment, learn how to make your own organic potted garden. You get healthier eating and even decorate the environment

Is having an organic garden at home also possible for those who don't have a backyard? The answer is yes! You can grow your vegetables in pots.
A potted garden needs greater care with humidity, temperature and watering, as evapotranspiration is greater in these cases and the plants are more influenced by hot days, so care must be taken so that the land does not oscillate between the extremes of dry to soggy. Losing leaves is a sign that your plant is experiencing stress from this variation.
One advantage of potted gardens is that pots can be transported in search of better environmental conditions.
Like floor gardens, potted gardens have the same principles of fertilization, rotation and association of crops to conserve soil fertility and protect plants from pests, as we have already seen.
Note that the more we group the vessels, the easier biological control and humidity and temperature control are.
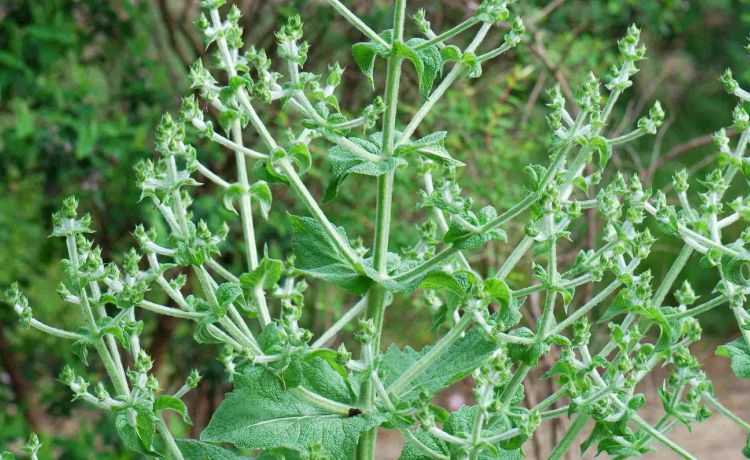
Association of cultures
The association must be done so that one plant helps and protects the other, so that aromatic cultures are associated that will help in pest control and that do not compete for nutrients and space. We can combine hardwoods (ex: lettuce) with aromatics (ex: mint), or aromatics with tuberoses (ex: carrots), always seeking to associate plants with different root systems and nutrient and space requirements. For example, you can grow carrots, mint and chard in the same pot; and beets with lemon balm in the pot on the side.
The size of the pots will tell you which vegetables can be planted. If the pot is tall, approximately 60 cm, you can grow plants with deep roots or that are taller, such as corn.
In planters, which are shorter - approximately 40 cm tall - the seedlings that best adapt are the smallest, with shallower roots, such as chard, lettuce and aromatic plants. Even beets and radishes can thrive.
Crop rotation
Crop rotation should be done so as not to deplete the soil's nutrients, trying to incorporate the compost into the soil before planting the next vegetable. Alternate between crops so that the next ones need different nutrients: if this time you have planted hardwoods with herbs, next time plant legumes with herbs, for example.
See the step-by-step instructions on how to make a potted garden below.
Materials
- Pallets;
- Vases;
- Earth;
- Expanded clay;
- Seeds;
- Dough;
- Watering can.
Mounting

With the container that will be used as a vase, we must make holes in the bottom so that the water can flow and avoid vases that oxidize, so as not to cause problems for your health and that of the plant.
Place a layer at the bottom of the expanded clay pot or any pebbles you have in your house so that water does not accumulate at the bottom of the pot. The advantage of expanded clay is that it retains water, always leaving the soil moist, softening the effects of heat.
Place, with the help of a spade, earth in the center of the pot, leaving space to put more clay on the side walls. The clay will protect the sides of the pot from the outside temperature.
The layer of soil should be thick enough that only two fingers are left to the edge of the pot.
Then place the seeds in the soil evenly and cover them with a thin layer of soil.
When the seeds germinate, it will be necessary to thin them, as only the biggest and strongest seedlings will be able to grow.
Then press the soil down to make it flat and add a thin layer of fertilizer so the seeds don't get too buried.
Finally, put a layer of green manure (see how to make green manure) and water. If you want to grow more than one pot, try to keep the smaller pots in front of the larger pots so that the larger pots don't get in the way of the smaller pots in capturing light.
The pallets serve as a basis for the vessels not to be in direct contact with the floor, helping to avoid extreme temperatures.
And then what do I do?
On the fourth or fifth day, the seeds usually start to germinate. If this occurs, you must open a little space between the green manure to facilitate growth. That way, when the plants grow, the entire surface will be covered with green manure, except for the part where the plants are growing.
You should also water whenever you feel the fertilizer dry and soiled when you touch it - this means the soil does not have enough moisture, if it comes out soiled it means the humidity is adequate and there is no need to water. Also, do not water during the hottest hours of the day so as not to "cook" the plant's roots.
Don't forget that a composter is needed to make the compost that we are going to put in the pots. This fertilizer will be incorporated into the soil frequently, but it is not necessary for the compost bin to be large - look for one that best suits the space you have at home.
Watch the video this story was based on - it was produced by Borelli Studio and it's in Spanish, but it has Portuguese subtitles.