Install intensity controllers to reduce energy use with lighting
Put them in place of the conventional switch to save energy

A house consumes, on average, 15% of its electricity for lighting. However, there are some ways to reduce this electricity consumption, for example, switching from incandescent light bulbs to compact fluorescent or LEDs.
Another complementary way is to install a light intensity controller, or dimmer switches. With this simple change, it is possible to reduce energy consumption with lighting by 25% or even more, depending on the period of use of the lamp and the intensity determined.
This change is relatively simple, but requires electrical work. So, call a professional to help you. If you cannot afford it, ask an electrician friend or one who understands this type of wiring to help you. We do not recommend performing this task unsupervised as accidents may occur. Check out the step-by-step instructions on how to install the dimmer:
Materials
- New dimmer switches;
- Wire cutters (pliers) and strippers;
- Voltage tester (optional, but recommended);
- Screwdriver;
- 2 to 3 connection nuts.
Procedure
Choose the locations where you will place the dimmer
Choose the most used rooms. Tip: the bathroom is a good place to start this installation, as it is one of the most energy-consuming places in the entire house.
Choose your switches
With the number of switches in mind, it's time to buy. There are a number of factors for you to consider when choosing your dimmers. Below is a summary for the initial search, but it is recommended that you talk to a representative of the specialized store to find out which models are ideal for your home. There are three types of dimmers: single-pole (for lights controlled by a single switch), three-way or four-way (for lights controlled by a dimmer and one or more switches) and multiple locations (for lights controlled by two or more switches dimmer). The best type depends on the electrical installation.
Turn off the power to your switches
Before installing the dimmers, it is important that you cut the power to the switches in the places where you are working. To do this, go to your electrical panel and turn off the circuit breakers (or remove the fuses) in the areas where the switches to be converted are located. Then test the strength of the switches to make sure they are off.
remove the existing switch
Remove the wall plate and screws where the switch is fitted and leave them where you won't lose them, should you need them in the future. Before loosening the assembly or touching the wires, we recommend testing the switch with a voltage tester to make sure it is secure.
Unplug the wires from your old switch
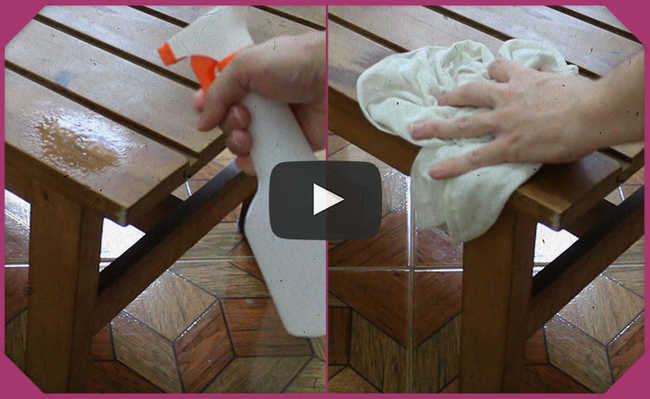
Depending on the type of switch you are removing, you may see a few different wire arrangements (the image of a common arrangement is the one on the left in the image below). Most switches have three wires, two black and one green. Three-way switches usually have another wire labeled "common" (not the case in the image below). To remove the old switch, just cut each wire with the pliers. For the ground wire, you only need to loosen the green wire screw a little. Check out the image below to facilitate the process:

Connect your dimmer switch
Using the wire cutters, remove a few centimeters of the plastic part that insulates each of the wires. That done, take your new dimmer switch and connect the green wire to the switch so that it locates in the junction box. In this process, twist the copper wires together to the left and then cap them with the connection nuts. Do the same thing with the two black wires and the regular wire (if you have one).
Protect your dimmer switch
Squeeze all wires into the junction box (this can be a tight fit) and then screw the switch into the mount. Next, fit the switch board.
Ready! Now you can turn the power back on and test the new switch type. And remember that if your electrical installation is different from what we've described, consult your manual and a professional for specific instructions.