I received my domestic composter. And now?
Find out what the first steps are to get this little beauty up and running and start composting

Image: Spirulix
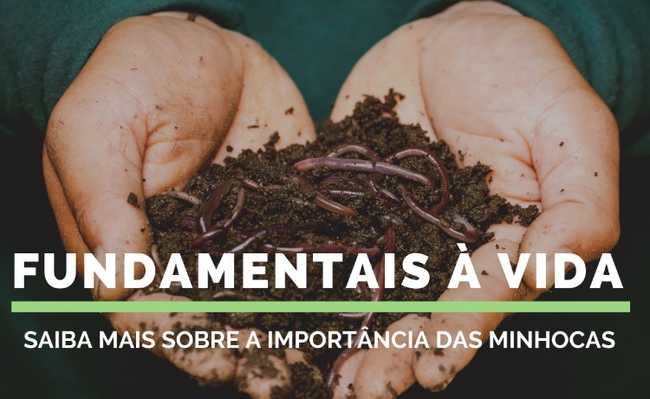
You fell in love with home composting, with its many practical and environmental advantages, and purchased a composter. Excellent! But and now? How to assemble it? What are the first steps? Where to put the worms? What is the faucet for?
Calm down... Having a composter is no big deal and this article will give you a nice overview of how to make compost and start your work as a "food recycling worm caretaker".
How to assemble the system?

In general, the assembly of composters on the current market is very simple. They are usually stackable - models usually have three boxes. See the first tips:
- We advise that you provide in advance a support for the composter to support itself (even if on the wall or with some wood, so that it does not run the risk of falling) and leave it in the final place where you intend to install it;
- Stack the boxes. The box with the faucet (collector) should be the base for the other two;
- In the middle box (digestor), place the contents of the package (sawdust and humus), covering the entire bottom;
- Do the same with the top box (it's also a digester) and cover.
This sawdust and humus content is called "bed" and is very important for receiving worms. But why?
The importance of "bed"
The "bed" is where earthworms feel safe and reproduce. And that doesn't happen for nothing: with this layer of sawdust and humus, the environment is stable, with no changes in humidity, pH and temperature (learn more in the article "Problems in composting: identify the causes and find out about solutions.) Yeah the perfect shelter.
If the box has problems with the relevant factors for composting success, the worms simply flee from that box to another, where they find a stable environment, thus indicating to the user that there are problems in the system.
Starting compost
Have you assembled everything correctly? So it's time to really get started:
- Previously separate the organic waste and the covering material (dry material);
- First, you should put the organic waste (see more information in the article "What can you put in the composter?") heaped in a corner of the box, without spreading, and cover it completely with the dry material;
- You can go on putting the waste on a daily basis - it takes approximately a month for the top box to be full;
- When this happens, replace it with the middle box, which was previously taken care of with the contents of the package, acting as a "bed" for the worms.
- Leave the box full of waste to rest in place of the middle one while the middle one fills in place of the top one. That is, when the top box is full, swap it with the middle box for about a month, so that the box on top fills up and the one in the middle rests.

Why put dry material?
Dry material is very important for the composting process. Used as a cover material, it is a source of carbon, and its balance with nitrogen is a very important factor in the success of composting.
"Wow, and where can I get dry material"? Well, just look at your garden. Sweep it up and there's a lot you can use in the composter, like grass, dry leaves, straw or coarse sawdust.
As for the sawdust, make sure that it is not contaminated with glue or varnish, because if it is, it can contaminate the entire composter system, including the compost (the final product).
We recommend using coarse, not fine sawdust, in order to maintain oxygenation in the compost environment. The thin tends to compact, making air circulation in the system impossible, making it difficult for organic waste to decompose.

What to do with the compost?
After some time (about two months), all the residues will become natural fertilizers! But you need to know what to do with the two types of compost:
Liquid
The liquid compound in the collecting box must be removed by the faucet weekly. This liquid comes from the decomposition process of organic waste and is drained by the compost contents. It can be called liquid fertilizer, liquid compost or organic slurry as it is rich in nutrients and free from bacteria and can be used for watering plants - diluted in 50% water.
Solid
This compound is the mixture of earthworm humus and the decomposition of waste. Its color is dark and it is solid and a source of nutrients and stabilized organic matter, which can be used in soils - which helps to improve the quality and recovery of plants. Therefore, it is recommended that the compound be applied as soon as it is prepared.
To collect it, place the box in the sun so the worms can hide (they are photosensitive). Remove the product until leaving two or three fingers of earth in the box, to serve as a "bed" for the worms, in the repetition of the process.

What to buy a domestic composter? Click here.

